
Step.1: You have to load CSV file by uploading CSV or load Saved File
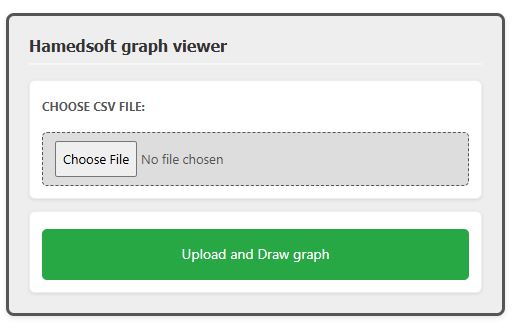
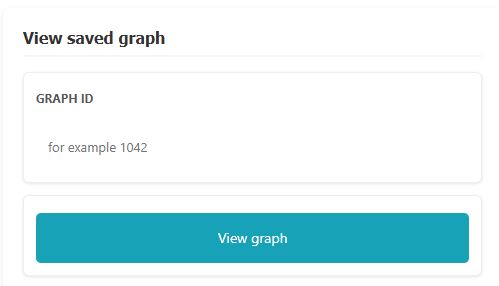
Step.2: After loading if no problem happend, Graph will show
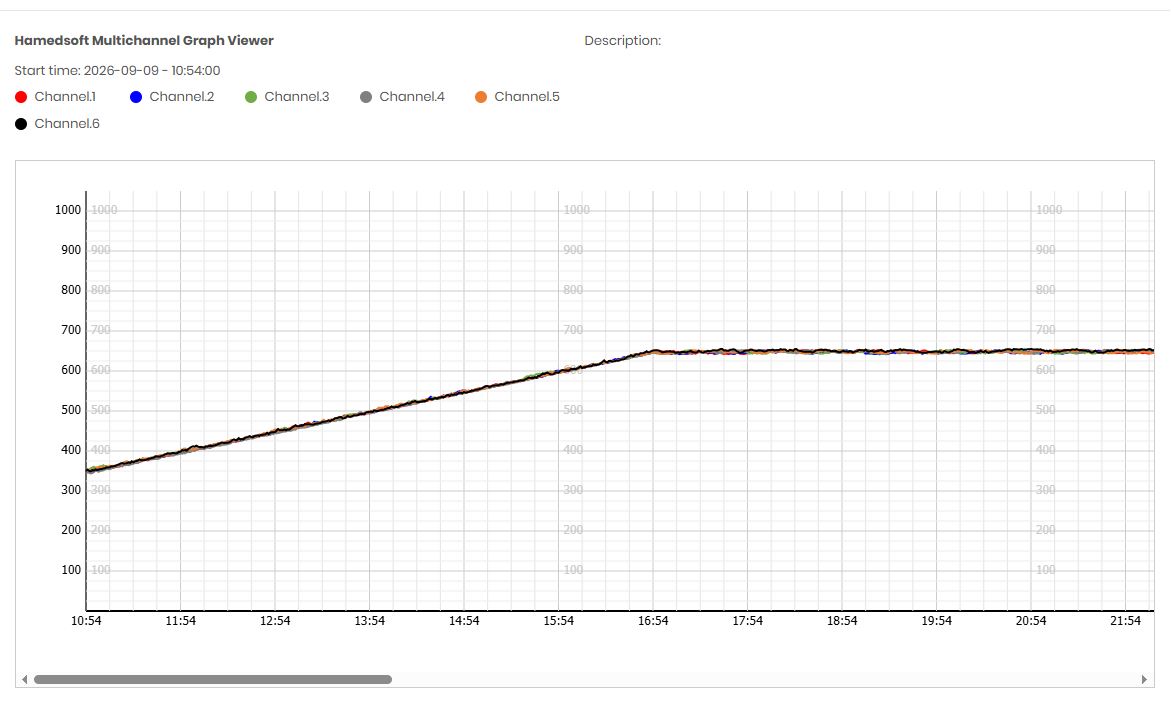
Step.3: Depends on your permission some option will show to you
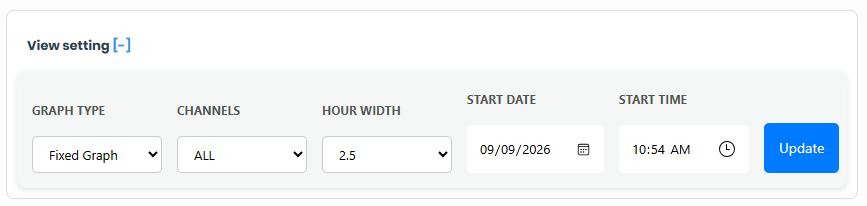
Fixed graph
Best for: Standardized reports, consistent aspect ratios, and layouts where you need specific dimensions (e.g., when placing multiple graphs on a single page).
Behavior: The graph is generated with a rigid, predetermined width. This ensures that regardless of the data length or screen/paper size, the graph maintains the specific scale you have selected.
- Graph type: Fixed graph or stretch
- Channels: Depends on channels count you can view changing for all channels or specific channel
- Hour width: On Display it is not accurate but you can choos 2.5, 3 or 5 cm per each hour.
- Start Date: Change the start date if it is not correct (Permission needed)
- Start Time: Change start time of process if it is not correct (Permission needed)
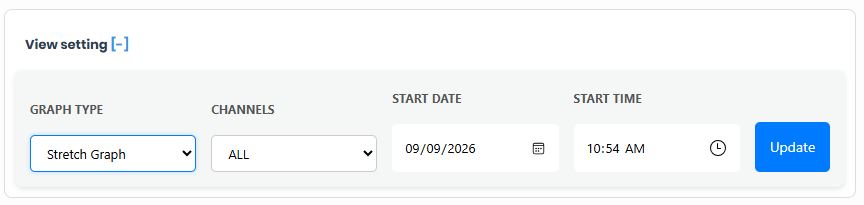
Stretch Mode
Best for: Full-page reports, high-density data visualizations, and presentations where you want to maximize the use of available space.
Behavior: The graph ignores fixed width constraints and automatically expands to fill the entire available width of the paper or container. This is ideal if you want your graph to span the full page margins horizontally.
- Graph type: Fixed graph or stretch
- Channels: Depends on channels count you can view changing for all channels or specific channel
- Start Date: Change the start date if it is not correct (Permission needed)
- Start Time: Change start time of process if it is not correct (Permission needed)
Step.4: You can set the graph details and description, in specific field (Permission need for manipulate)
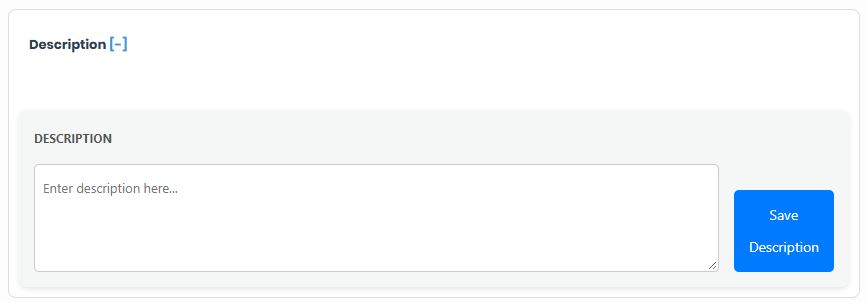
Set Description
Remember to click the "Save Description" button after editing. The description. By default, there is no description; if you wish to include details—such as material information, a project code, or any other data indicating the purpose of this graph—be sure to click the "Save Description" button after entering or editing the text to apply your changes.
Step.5: You can set the Client and request information (Permission need for manipulate)
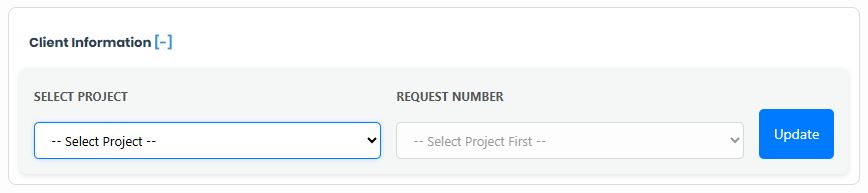
Set client and requests
Set Client and Requests information. While it is possible to enter the client's details and their request directly into the description section, updating this section allows the system to retrieve accurate information from the database, facilitating faster access to the process for future reference. To do this, you must have the necessary authorization, and the client's information and request must have already been saved in the system.
The subsequent steps are simple: just select the project name and the corresponding request, then click the "Update" button.
Step.6: Grouping the channels (Permission need for manipulate)
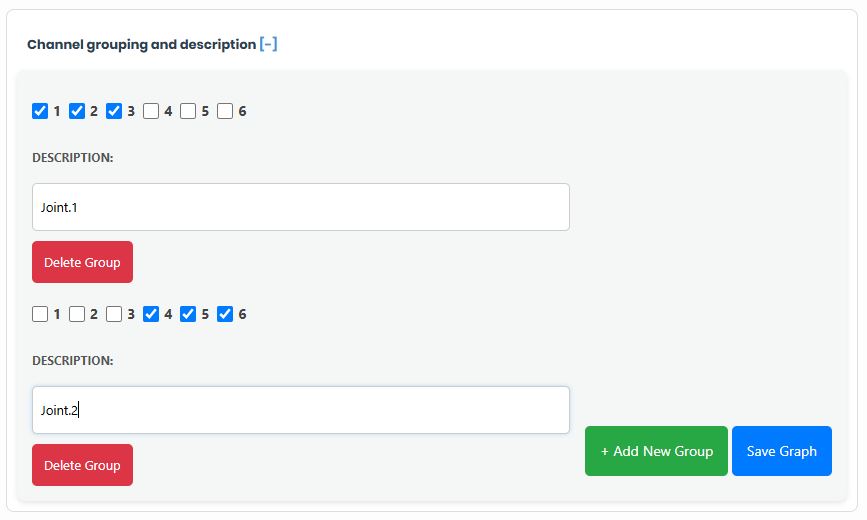
Grouping the lines (Permission needed)
Seperate each channels in put it in specific group. It is recommended to separate the heat treatment graphs when they involve more than one workpiece. This ensures that each group represents the specific data for an individual part, preventing the plotted lines from overlapping with those of other groups. From a quality control perspective, this format is preferable and also simplifies the documentation process.
The procedure is straightforward: select the channel numbers, enter your desired description, and then create the group. Don't forget to click the "Save Graph" button after making these changes.
Step.7: Time to print

Menu for type of print
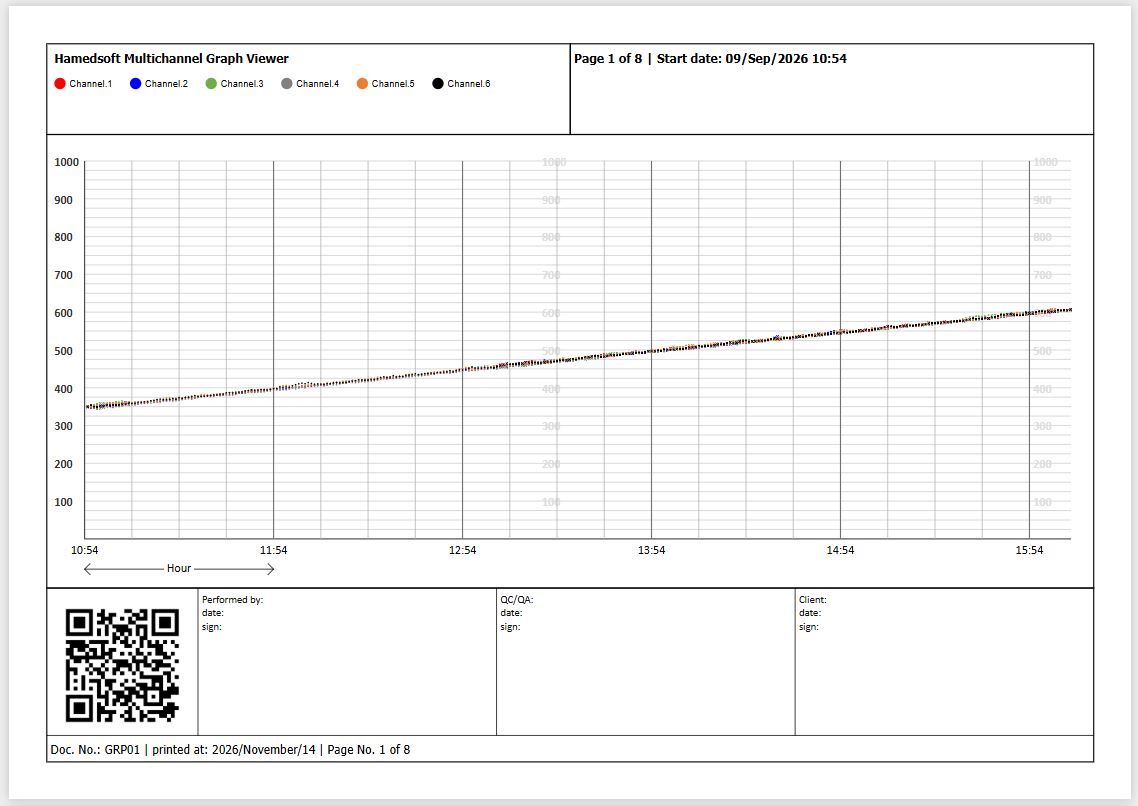
Choose the type of graph you require: one with a fixed width per hour (Fixed Graph), or one scaled to fit the width of the paper (Stretch Graph). If you select a Fixed Graph, please ensure the width assigned to each hour is appropriate for your paper size; 2.5 cm per hour is a standard choice, though you may opt for 3 cm or 5 cm per each hour. You can configure the display layout for all channels simultaneously, or group them into sets of 1, 2, 3, 6, 12, or 18 channels. If you choose to group the lines, each set will be displayed separately. After making your adjustments, click the designated button followed by "Print." This will open your operating system's printer menu, where you can choose to export to a PDF file or print to a physical printer. Please note that when exporting to a file, the proportions are maintained precisely, with no scaling (enlargement or reduction) applied beyond your specified settings. Conversely, physical printing is subject to constraints such as paper margins and variations in default paper dimensions; should the client require high precision, you may need to adjust the scale percentage to correct for any discrepancies..
Sed ut perspiciatis unde omnis iste natus error sit voluptatem accusantium doloremquealt hoan laudas ntium, totam rem aperiam, eaque ipsa quae ab illo inventore
Sed ut perspiciatis unde omnis iste natus error sit voluptatem accusantium doloremquealt hoan laudas ntium, totam rem aperiam, eaque ipsa quae ab illo inventore